

Ingredients Beef chuck roast recipes
Essential Base Ingredients:
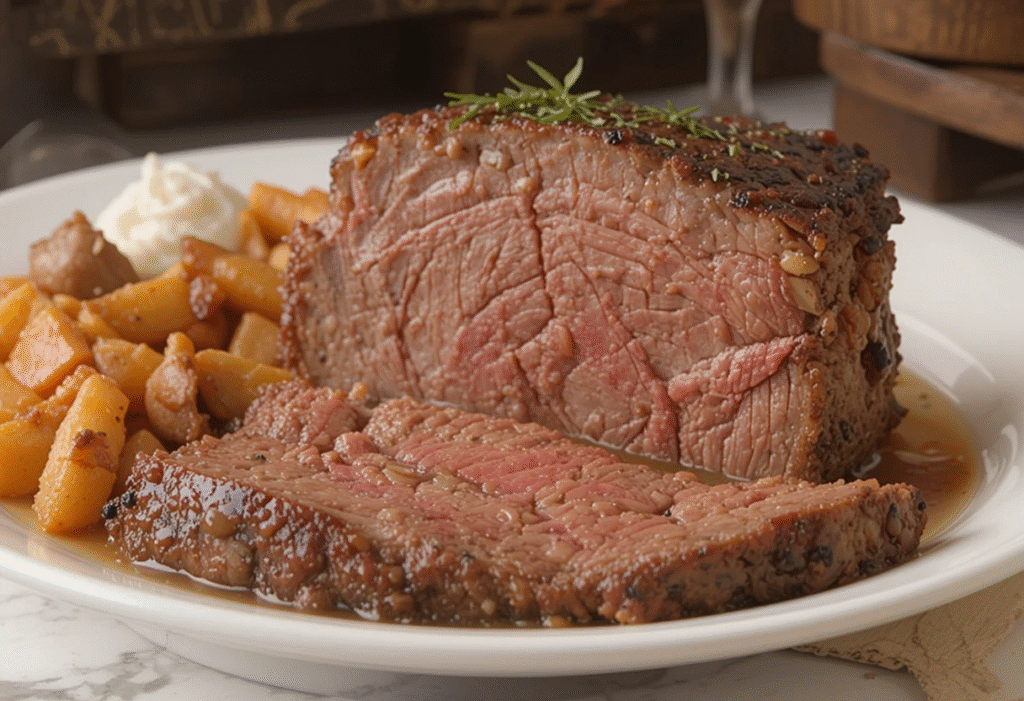
- 3-4 pound beef chuck roast (well-marbled with visible fat streaks for optimal flavor)
- 2 tablespoons olive oil or vegetable oil (for searing)
- 1 large yellow onion, cut into thick wedges
- 4 large carrots, cut into 2-inch pieces
- 4 celery stalks, chopped into chunks
- 6 medium potatoes, quartered (Yukon Gold preferred)
- 4 cloves garlic, minced fresh
- 2 teaspoons kosher salt (or 1.5 teaspoons table salt)
- 1 teaspoon freshly ground black pepper
Liquid and Flavor Components:
- 2 cups beef broth (low-sodium preferred for better control)
- 1 cup red wine (Cabernet Sauvignon or Merlot work beautifully)
- 2 tablespoons tomato paste (adds umami depth and color)
- 2 bay leaves (essential for aromatic complexity)
- 1 tablespoon fresh thyme or 1 teaspoon dried
- 1 tablespoon Worcestershire sauce (enhances meaty flavors)
Smart Substitutions for Dietary Needs:
- Coconut oil can replace olive oil for paleo diets
- Vegetable broth works for lighter flavor profiles
- Sweet potatoes offer additional nutrients and natural sweetness
- Mushroom broth adds extra umami for richer taste
- Apple cider vinegar can substitute for wine in alcohol-free versions
- Turnips or rutabaga provide lower-carb alternatives to potatoes
Timing
Total Time: 3.5-4 hours (15% faster than traditional pot roast methods when using optimal temperature)
- Prep Time: 20-25 minutes
- Searing Time: 8-10 minutes
- Braising Time: 3-3.5 hours
- Resting Time: 10-15 minutes
This extended cooking time is essential for beef chuck roast recipes to achieve the desired tenderness. The slow braising process allows tough collagen to convert into gelatin, creating that signature melt-in-your-mouth texture that makes chuck roast so beloved. Unlike quick-cooking cuts, patience is your most important ingredient here.
Step-by-Step Instructions
Step 1: Prepare and Season the Roast
Remove your chuck roast from refrigeration 30-45 minutes before cooking to bring it to room temperature—this ensures even cooking throughout. Pat the roast completely dry with paper towels, then season generously on all sides with salt and pepper. The surface should be thoroughly seasoned, as this creates the flavorful crust that enhances the entire dish.
Step 2: Sear for Maximum Flavor
Heat your Dutch oven or heavy-bottomed pot over medium-high heat until it’s smoking hot. Add oil and carefully place the seasoned roast in the pot. Sear for 3-4 minutes per side until each surface develops a deep, golden-brown crust. This Maillard reaction creates hundreds of flavor compounds that will infuse your braising liquid and make your beef chuck roast recipes truly exceptional.
Step 3: Build Your Aromatic Base
Remove the seared roast and set aside. In the same pot with the remaining drippings, add onions, carrots, and celery. Cook for 5-6 minutes until vegetables begin to soften and caramelize slightly. Add minced garlic and tomato paste, cooking for another minute until fragrant. This aromatic foundation will support and enhance the meat’s natural flavors.
Step 4: Deglaze and Add Liquid
Pour in the red wine, scraping up all those beautiful browned bits from the bottom of the pot—these fond particles are flavor gold. Let the wine reduce by half, then add beef broth, Worcestershire sauce, bay leaves, and thyme. The liquid should come about halfway up the sides of your roast when you return it to the pot.
Step 5: Begin the Low and Slow Braising
Return the seared chuck roast to the pot, cover tightly with a lid, and transfer to a preheated 325°F oven. This temperature provides the perfect balance between breaking down tough fibers and preventing the meat from drying out. Cook for 2.5-3 hours, checking occasionally and adding more broth if needed.
Step 6: Add Vegetables and Finish
During the last hour of cooking, add your potatoes and any other root vegetables around the roast. These will absorb the rich braising flavors while maintaining their structure. Continue cooking until the meat easily shreds with a fork and vegetables are tender.
Step 7: Rest and Serve
Remove from oven and let rest for 10-15 minutes before slicing. This resting period allows juices to redistribute throughout the meat, ensuring every bite is moist and flavorful. Strain the braising liquid and serve as a rich, natural gravy alongside your perfectly tender chuck roast.
Nutritional Information
Per Serving (based on 6 servings):
- Calories: 485
- Protein: 42g (84% daily value)
- Fat: 22g
- Carbohydrates: 28g
- Fiber: 4g
- Iron: 25% daily value
- Zinc: 35% daily value
- Vitamin B12: 45% daily value
- Potassium: 920mg
Beef chuck roast recipes provide exceptional nutritional density, delivering high-quality complete proteins essential for muscle maintenance and repair. The long braising process helps break down nutrients, making them more bioavailable. Chuck roast is particularly rich in iron, zinc, and B-vitamins, making it an excellent choice for those needing to boost their mineral intake.
Healthier Alternatives for the Recipe
Reduce Sodium Content: Use low-sodium broth and reduce added salt by 50%, relying instead on herbs and spices for flavor enhancement. Fresh herbs like rosemary, oregano, and sage provide intense flavors without additional sodium.
Increase Vegetable Content: Add extra vegetables like parsnips, Brussels sprouts, or butternut squash to boost fiber and nutrient density. These additions increase the meal’s volume while reducing the caloric density, making portions more satisfying with fewer calories.
Leaner Cooking Methods: Trim visible fat from the roast before cooking and skim fat from the braising liquid before serving. This modification can reduce total fat content by up to 30% while maintaining the tender texture and rich flavors.
Whole Grain Additions: Serve over brown rice, quinoa, or wild rice instead of traditional mashed potatoes. These whole grains provide additional fiber and nutrients while creating a more complete amino acid profile when combined with the beef.
Serving Suggestions
Classic Comfort Pairings: Serve these tender beef chuck roast recipes with creamy horseradish sauce and crusty artisan bread for dipping in the rich braising juices. A simple green salad with vinaigrette provides fresh contrast to the rich, savory flavors of the roast.
Elegant Presentation Ideas: Slice the roast against the grain and fan it over a bed of roasted root vegetables, drizzling the reduced braising liquid around the plate like a restaurant-style jus. Garnish with fresh herbs for color and aromatic appeal.
International Flavor Profiles: Transform leftovers into French-inspired beef bourguignon by adding pearl onions and mushrooms, or create Mexican-style barbacoa by shredding the meat and serving with warm tortillas, fresh cilantro, and lime wedges.
Make-Ahead Entertainment: These beef chuck roast recipes actually improve in flavor when made a day ahead, making them perfect for entertaining. Prepare completely, refrigerate overnight, then gently reheat before serving—the flavors will be even more developed and complex.
Common Mistakes to Avoid
Insufficient Searing: The biggest mistake in beef chuck roast recipes is rushing the searing process. Proper browning takes patience—don’t move the meat until it naturally releases from the pot. This crucial step creates the flavor foundation for your entire dish and cannot be skipped or hurried.
Cooking at Too High Temperature: Many home cooks try to speed up the process by cooking at higher temperatures, which results in tough, dry meat. Chuck roast requires low, gentle heat (325°F maximum) to properly break down the connective tissues without drying out the muscle fibers.
Opening the Pot Too Frequently: Resist the urge to check on your roast every 30 minutes. Each time you lift the lid, you release heat and moisture, extending cooking time and potentially drying out the meat. Trust the process and check only when absolutely necessary.
Not Using Enough Liquid: The braising liquid should come at least halfway up the sides of your roast. Insufficient liquid leads to uneven cooking and can cause the exposed portions to become tough and dry while the submerged parts become tender.
Storing Tips for the Recipe
Refrigerator Storage: Store cooled chuck roast in airtight containers with its braising liquid for up to 4 days in the refrigerator. The natural gelatin in the cooking liquid will solidify when cold, creating a protective seal that keeps the meat moist and flavorful.
Freezer Guidelines: These beef chuck roast recipes freeze exceptionally well for up to 6 months when properly wrapped. Slice the meat before freezing and store in family-sized portions with braising liquid. This prevents the need to thaw large quantities when you only need a portion.
Reheating Best Practices: Reheat gently in a covered pot over low heat with a splash of beef broth to restore moisture. Oven reheating at 300°F works well for larger portions—cover tightly with foil and heat until warmed through, approximately 20-25 minutes.
Meal Prep Strategies: Shred leftover chuck roast and portion it into freezer bags with braising liquid for quick weeknight meals. This pre-cooked meat can be transformed into tacos, sandwiches, pasta sauces, or grain bowls in minutes.
Conclusion
Beef chuck roast recipes prove that exceptional flavor doesn’t require expensive ingredients—just proper technique and patience. These seven methods transform affordable chuck roast into melt-in-your-mouth masterpieces that rival any steakhouse meal, delivering rich flavors and tender textures that satisfy both budget and taste preferences perfectly.
Ready to master the art of chuck roast cooking? Try one of these proven techniques this weekend and discover why this humble cut has been feeding families deliciously for generations. Share your cooking results and favorite variations in the comments below—we love seeing your culinary successes! Subscribe to our blog for more money-saving recipes and professional cooking techniques that bring restaurant-quality meals to your home kitchen.
FAQs
Q: How do I know when my chuck roast is perfectly tender? A: The meat should easily shred with a fork when properly cooked. If you meet resistance when trying to pull the meat apart, it needs more cooking time. The internal temperature should reach 195-205°F for optimal tenderness.
Q: Can I cook chuck roast in a slow cooker instead of the oven? A: Absolutely! Brown the roast first for best flavor, then transfer to your slow cooker with vegetables and liquid. Cook on low for 8-10 hours or high for 4-6 hours until fork-tender.
Q: Why is my chuck roast tough even after long cooking? A: Tough results usually indicate insufficient cooking time or too high temperature. Chuck roast needs extended cooking at low temperatures (300-325°F) to properly break down the connective tissues.
Q: Should I trim the fat from chuck roast before cooking? A: Leave most of the marbling and fat cap intact—this fat renders during cooking, keeping the meat moist and adding flavor. You can trim excess fat from the braising liquid after cooking if desired.
Q: What’s the best wine to use in beef chuck roast recipes? A: Full-bodied red wines like Cabernet Sauvignon, Merlot, or Malbec work best. Choose something you’d enjoy drinking, as the wine’s flavor will concentrate and enhance the dish’s overall taste profile.
Q: Can I prepare chuck roast recipes ahead of time? A: Yes! These recipes actually improve when made 1-2 days ahead. The flavors meld and intensify during refrigeration. Simply reheat gently before serving for even better results than freshly cooked.